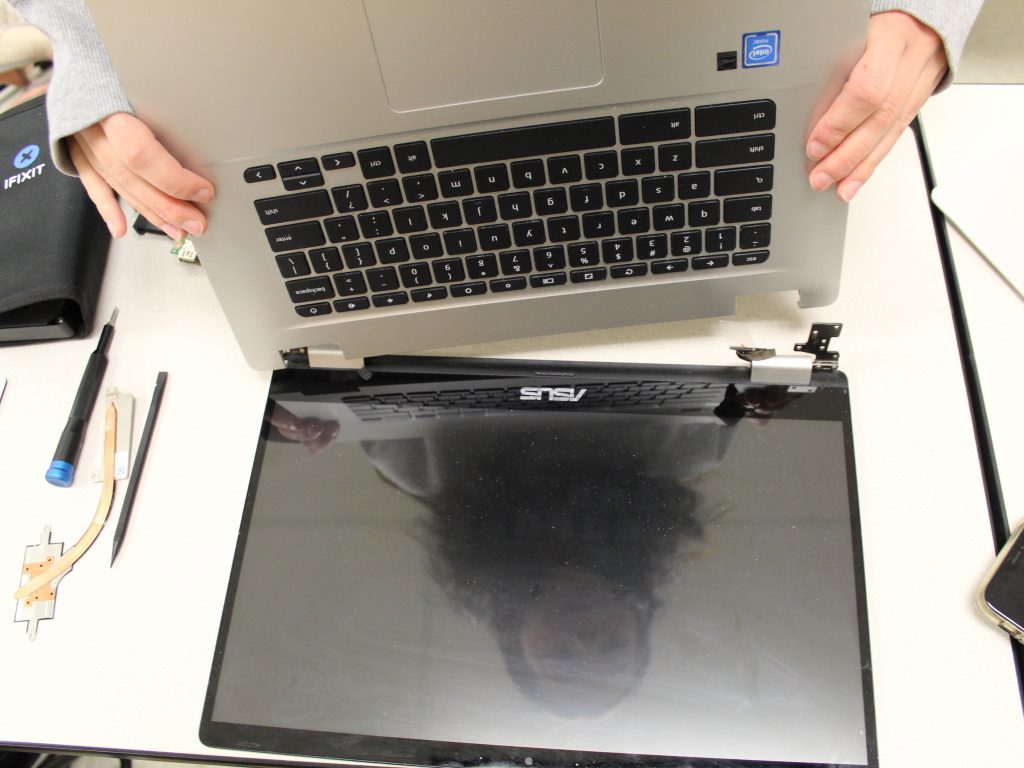
Replacing a laptop screen can be a complex task, and it’s important to exercise caution and follow proper procedures to avoid causing further damage to your laptop. Here’s a general guide on how to replace a laptop screen:
1. Determine the Laptop Model:
Identify the exact model of your laptop. You can usually find this information on a label on the bottom of the laptop or in the user manual.
2. Purchase a Replacement Screen:
Order a replacement screen that matches your laptop’s model. You can find these screens online from reputable sellers or from the laptop manufacturer’s official website.
3. Gather Necessary Tools:
You’ll typically need a set of small screwdrivers, a plastic spudger or opening tool, and possibly a pair of tweezers. Make sure you have the right tools for the job.
4. Prepare the Workspace:
Choose a clean, well-lit, and static-free workspace. A large, flat surface with good lighting is ideal.
5. Power Off and Unplug:
Turn off your laptop and unplug it from any power sources. Additionally, disconnect any peripherals and remove the laptop’s battery if possible.
6. Remove the Bezel:
The bezel is the plastic frame around the screen. Use a plastic spudger or opening tool to carefully pry off the bezel. Start from a corner and work your way around the screen. Be gentle to avoid damaging the plastic or the screen itself.
7. Remove the Old Screen:
Once the bezel is removed, you’ll likely see screws securing the screen to the laptop’s body. Carefully remove these screws and set them aside. Gently tilt the screen forward and disconnect the video cable and any other connectors attached to the back of the screen.
8. Install the New Screen:
Attach the video cable and any other connectors to the new screen. Carefully position the screen in place and secure it with the screws you removed earlier.
9. Reattach the Bezel:
Snap the plastic bezel back into place around the edges of the new screen.
10. Test the Replacement:
Before fully reassembling the laptop, power it on to ensure that the new screen is functioning properly. If everything looks good, you can proceed.
11. Reassemble the Laptop:
Put the laptop back together in reverse order. Make sure all the screws are tightened properly and the connectors are secure.
12. Power On and Test Again:
Once the laptop is fully reassembled, power it on and test the screen once more to confirm that everything is working as expected.
Please note that laptop disassembly and screen replacement can vary significantly depending on the laptop model. It’s highly recommended to consult your laptop’s user manual or seek professional assistance if you’re unsure about any steps or encounter difficulties. If your laptop is under warranty, you may also want to consider contacting the manufacturer for assistance or repair options.


